
Hi fellow stampers. I have been asked for the instructions for the pretty fancy fold card that I made in my last post, so here are the instructions.

Card recipe


Tip - I stamped with Memento Black ink as I coloured using the New Stampin' Blends.


I hope you have a go at making this card, yes it is a bit fiddly but it makes it all worth while when you are done, I hope I haven't been too long winded
Product List
Soft Sky - 11 1/2" x 5 3/4" scored at 5 3/4"
Whisper White - 8 1/4 x 5 1/2 scored at 2 3/4" and 5 1/2" and 5 1/82 x 5 1/8"
Petal Passion Designer Series Paper (DSP) - 5" x 5"
Window cut out with the largest scalloped square from the Layering Squares Framelits Dies, save the cut outs
Scraps for the sentiment and bird
Silver Glimmer paper for the cut out heart
Fold and burnish your Soft Sky card
Fold and burnish the Whisper White card

Set the DSP onto the Whisper White 5x5 and then set it centrally on the front of the card and stabilize it with washi tape to keep it in place. Check with a ruler to make sure it is square

Cut through all layers with the 3 1/8" square Layering Squares Framelits die. I found that I was able to cut 2 layers and then reposition it on the dent marks for the third card layer

Using the cut edges as your template, glue these 3 layers together


Take the white cutout square and cut it down one size with the next smallest die

Stamp as desired on the white square and on the 3 parts of the insert. I have used the Petal Pallette stamp set and cut out the birds and flowers using the matching Framelit Dies.
Tip - I use glue dots to hold my rubber stamps stable on the blocks for stamping

Now to assemble the card -
Cut 2 small pieces of card 3/4" x 2 1/2" scored approx 1/2 way across the longer side.
Apply glue to the back of the right hand 1/3 of your insert and set it down on your card so that the fold to the left is level with the centre of the card

Glue the small blue pieces to the back of the insert as shown.

Attach your birds and flower to the insert
Close your card and apply glue to the white card that shows. Apply the front square as shown with the card closed to see where it sits correctly
Bend the remaining strip back out of the way, apply glue to it and then stick them down once you have the front in the correct position
(by closing the card)
(by closing the card)

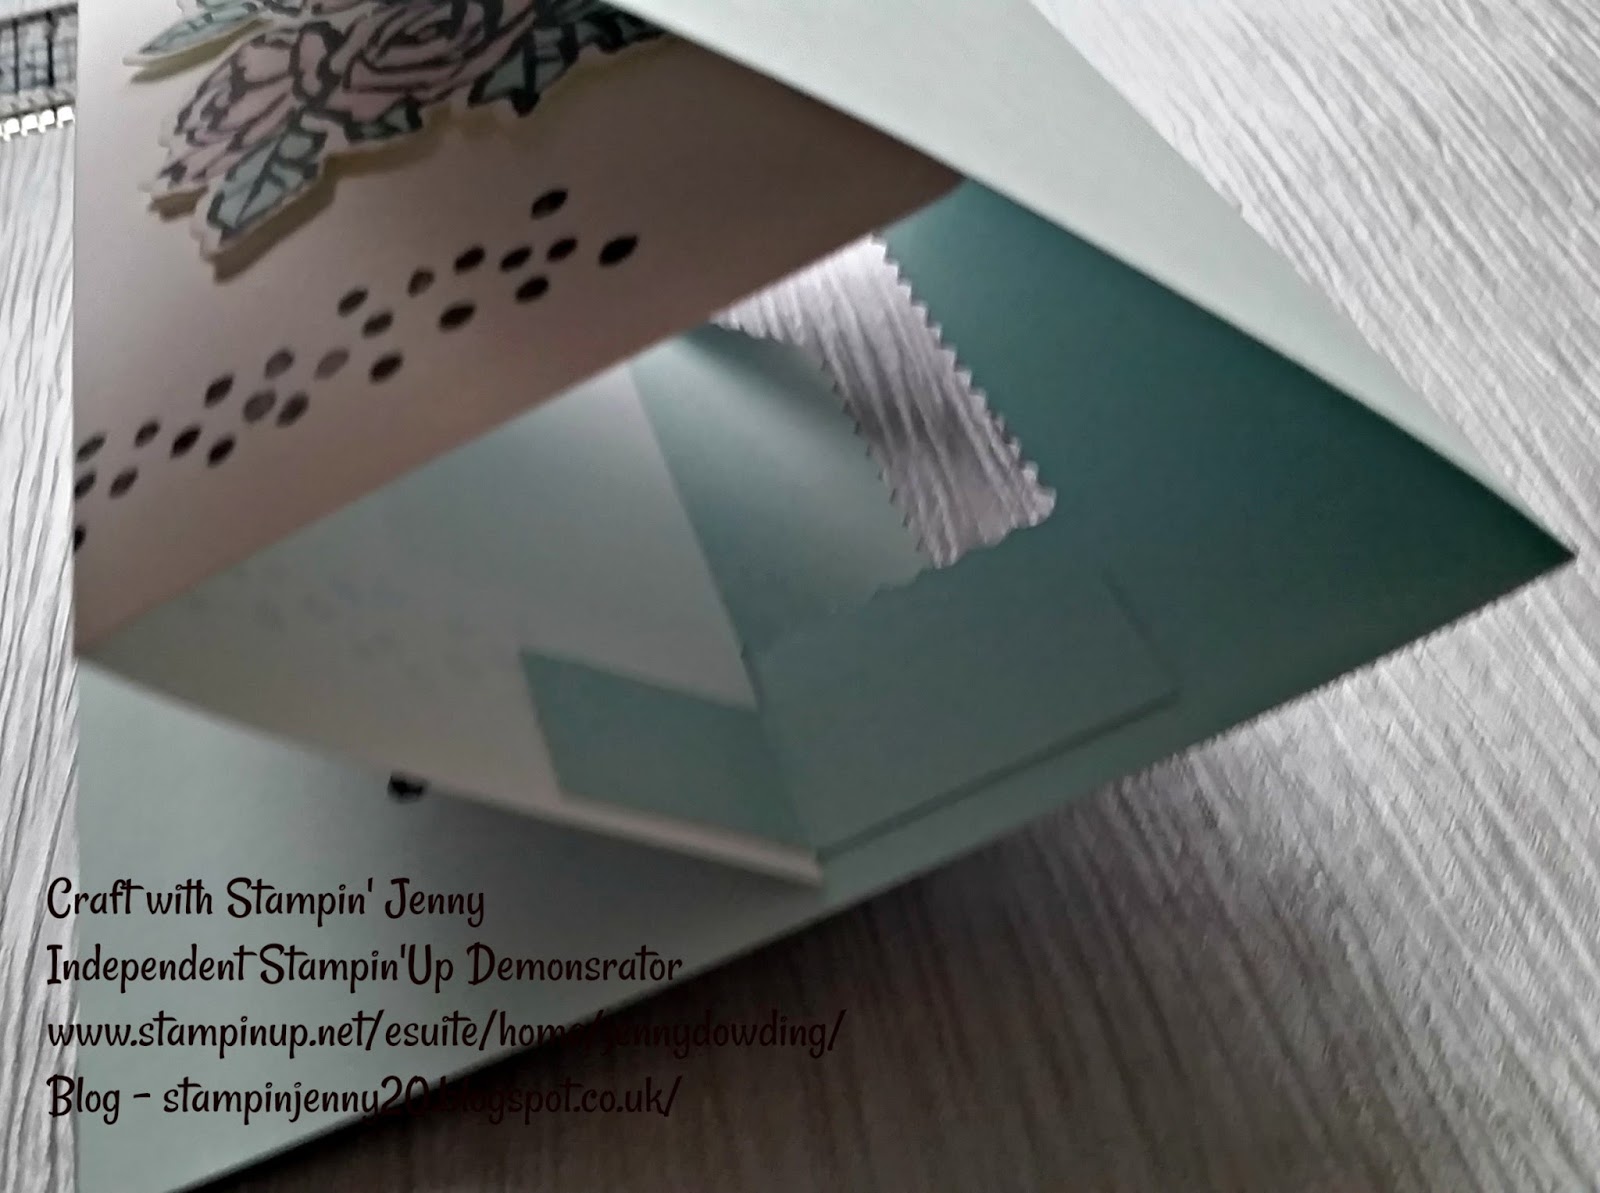
This is how it will look inside the two layers
Well Done!
All you have to do now is add your sentiment and bird to the front. These are my two cards that I have made, both slightly different

I hope you have a go at making this card, yes it is a bit fiddly but it makes it all worth while when you are done, I hope I haven't been too long winded
Please leave a comment below and you can purchase any of the products from my link at the top of this page
Happy Stampin'
Jenny x


