Back to Top
Showing posts with label Stampin' Jenny. Show all posts

Sunday, 4 March 2018

Playing with the new Brusho,

Hi Stampers

Over this weekend I have been playing with the new to Stampin'Up! Brusho Crystal Watercolour paints. 


The Brusho Crystals available from Stampin'Up! are a set of 5 colours; Brilliant Red, Moss Green, Prussian Blue, Gamboge (orange) and Yellow. The crystals activate when they are mixed with water and are VERY concentrated, so you will only need to use teeny, tiny amounts of crystals to get an explosion of colour. We suggest that you dont take the lids off, but instead poke a hole in the top of the lid and then block it off with a tack as I have done here.


It is easy to mix colours together to get a new colour as I have done to get the purple on the top right hand side.


Below are the cards that I have produced using the Brusho Crystals. At first I did not really like what effects I was getting, but as I put together the cards, I was hooked. I have used watercolour paper above, but you can use normal cardstock and I am off to try shimmer paper as I am told that it works beautifully.


Below I have added the link to a video made by Stampin'Up! for you to see. There are also many more YouTube videos online to look at


If you would like to purchase the Brusho Crystals, follow the "Shop Now" link at the top of this page to purchase from my shop.

I would love to hear what you think of these experiments and which card you like the best.

Happy Stampin'

Jenny x

Friday, 2 March 2018

How to make the Feb Fancy Fold card from the previous post - Weekend Blog

Hi fellow stampers. I have been asked for the instructions for the pretty fancy fold card that I made in my last post, so here are the instructions.


Card recipe


Soft Sky - 11 1/2" x 5 3/4" scored at 5 3/4"
Whisper White - 8 1/4 x 5 1/2 scored at 2 3/4" and 5 1/2" and 5 1/82 x 5 1/8"
Petal Passion Designer Series Paper (DSP) - 5" x 5"
Window cut out with the largest scalloped square from the Layering Squares Framelits Dies, save the cut outs
Scraps for the sentiment and bird
Silver Glimmer paper for the cut out heart


Fold and burnish your Soft Sky card
Fold and burnish the Whisper White card


Set the DSP onto the Whisper White 5x5 and then set it centrally on the front of the card and stabilize it with washi tape to keep it in place. Check with a ruler to make sure it is square


Cut through all layers with the 3 1/8" square Layering Squares Framelits die. I found that I was able to cut 2 layers and then reposition it on the dent marks for the third card layer


Using the cut edges as your template, glue these 3 layers together


Take the white cutout square and cut it down one size with the next smallest die


Stamp as desired on the white square and on the 3 parts of the insert. I have used the Petal Pallette stamp set and cut out the birds and flowers using the matching Framelit Dies.

Tip - I stamped with Memento Black ink as I coloured using the New Stampin' Blends.

 Tip - I use glue dots to hold my rubber stamps stable on the blocks for stamping


Now to assemble the card -

Cut 2 small pieces of card 3/4" x 2 1/2" scored approx 1/2 way across the longer side.
Apply glue to the back of the right hand 1/3 of your insert and set it down on your card so that the fold to the left is level with the centre of the card


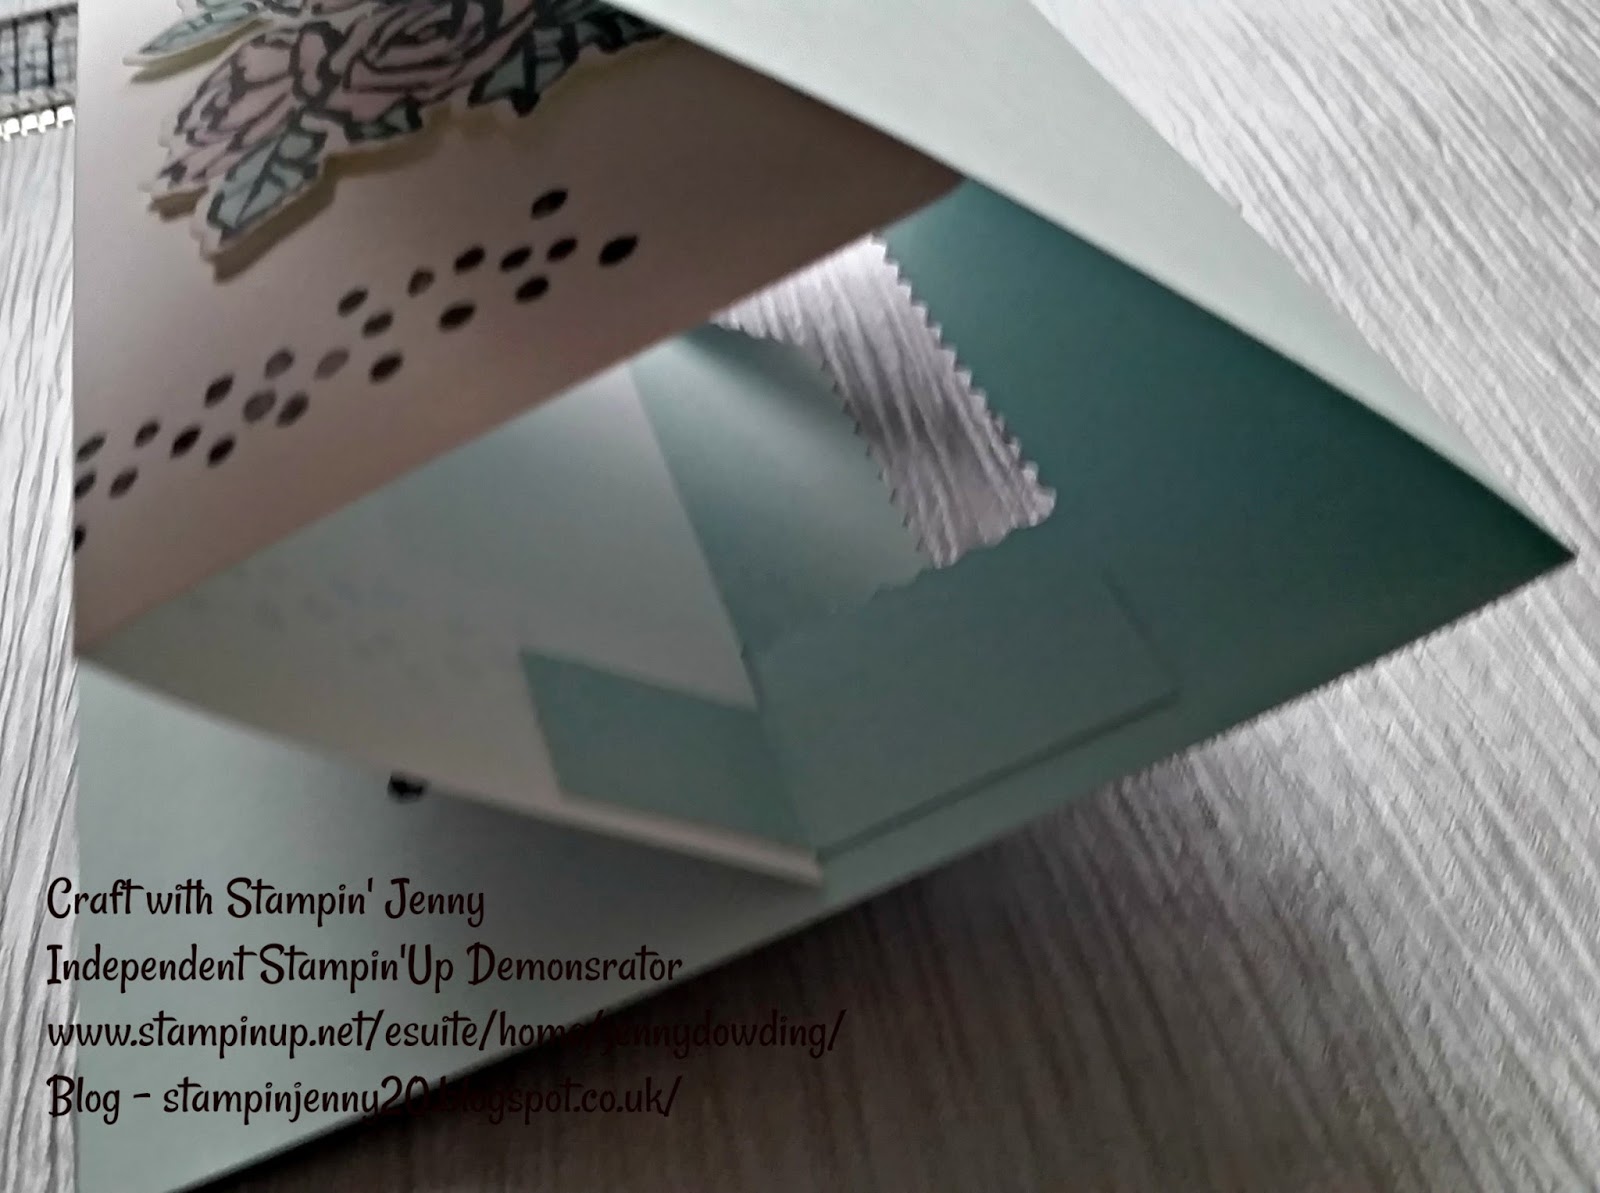
Glue the small blue pieces to the back of the insert as shown.


Attach your birds and flower to the insert 

Close your card and apply glue to the white card that shows. Apply the front square as shown with the card closed to see where it sits correctly


 Bend the remaining strip back out of the way, apply glue to it and then stick them down once you have the front in the correct position 
(by closing the card)


This is how it will look inside the two layers


Well Done!

All you have to do now is add your sentiment and bird to the front. These are my two cards that I have made, both slightly different


I hope you have a go at making this card, yes it is a bit fiddly but it makes it all worth while when you are done, I hope I haven't been too long winded 

Please leave a comment below and you can purchase any of the products from my link at the top of this page

Happy Stampin'

Jenny x


Product List

Saturday, 4 November 2017

Star of Light and Starlight Thinlit Card - Weekend Blog 4/11/17

Hi and Welcome to my Weekend Blog  

As of this week I will be showcasing Xmas cards using Stampin' Up! products. Today I am using the Star of Light Stamp set and matching Starlight Thinlit Dies, and the Merry Music Designer Series Paper 


I have made this card after seeingone made by Joanne Dibb on Pinterest.
I started with a sheet of Black cardstock, half an A4 sheet folded in half and burnished

I have stamped the sentiments on the front of the card using Versamark ink and Silver Embossing powder. Remember to used your embossing buddy as you do not want bits of silver embossing showing up on your back card


(Apologies for this "gray" black photo)

Once embossed, cut a piece of Merry Music DSP 10.5 x 8cm and then rough tear the edges to give you an angled piece. I then dragged the raw edges over the Versamark pad and embossed it with the silver embossing powder.
Attach these to your card front


Now the star.
Cut out the large plain star in Vellum and cut out the fancy star using Silver Foil paper. Attach the silver star to the vellum with the fine tip glue pen and then add to your card with dimensionsals. I have added a piece of silver thread behind the star with double sided tape.


Use a piece of white card for your insert and stamp it with a sentiment and a flourish of stars in black ink


I hope you like this card.
Do leave a comment below

Happy Stampin'


Card Recipe:

Card black 1/2 an A4 sheet
White card5 5/8" x 3 7/8 "
Star of Light Stamp Bundle - includes Starlight Dies
Memento Black Ink
Versamark Ink
Vellum Card
Silver Foil card
Silver Embossing Powder
Fine Tip Glue Pen
Dimensionals


Product List
09 10